Project Overview
We live in a world where more and more items are becoming part of the Internet of Things.
This is why the magic mirror concept has taken off so well in the maker community.
You are able to get all the information you need at a glance while checking your appearance before you leave the house.
It’s passive and useful.
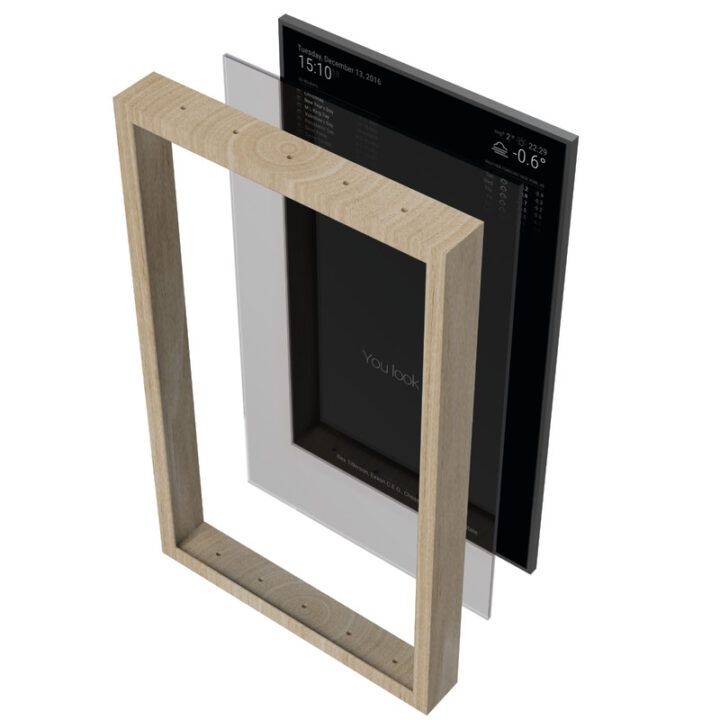
The mirror is created by combining a monitor, Raspberry Pi, semi-reflective observation glass, and a shadow box to appear as a normal mirror with text and images that appear to float in mid-air.
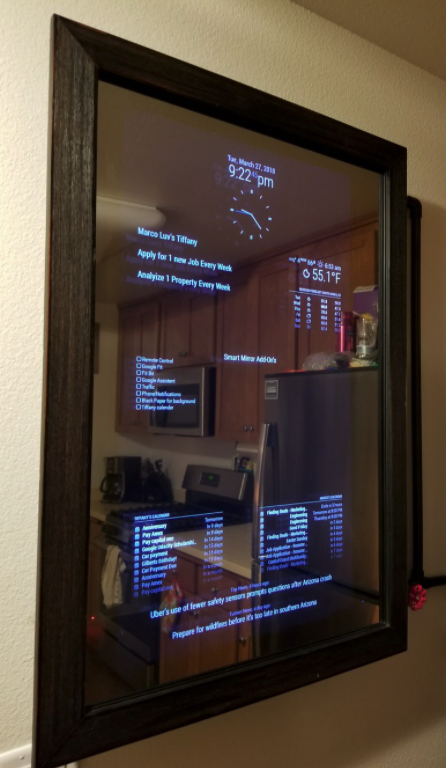
The information displayed is typically what I needed as I am preparing to leave the house: weather, news headlines, and transit information.
Creating the magic mirror required experience in many disciplines including carpentry, electronics, programming, and graphic design.
I can expand the capabilities of my mirror through the hundreds of community plug-ins available and write my own.
Building Materials and Electronics
This project required a great deal of woodworking and hardware skills. I have included a list of the necessary materials used to create this project.
BUILDING MATERIALS
– Shadow box frame. Deep enough to contain all the electronics when built.
– Wood to secure and keep everything in place inside the shadow box. Need nails and screws to connect wood to shadow box.
– Two way mirror film. This material is the same that is used in police interview rooms and as a privacy screening. It’s only semi-reflective, so the output from my screen can be seen ‘through’ the glass but it’s still effective as a mirror.
Electronics
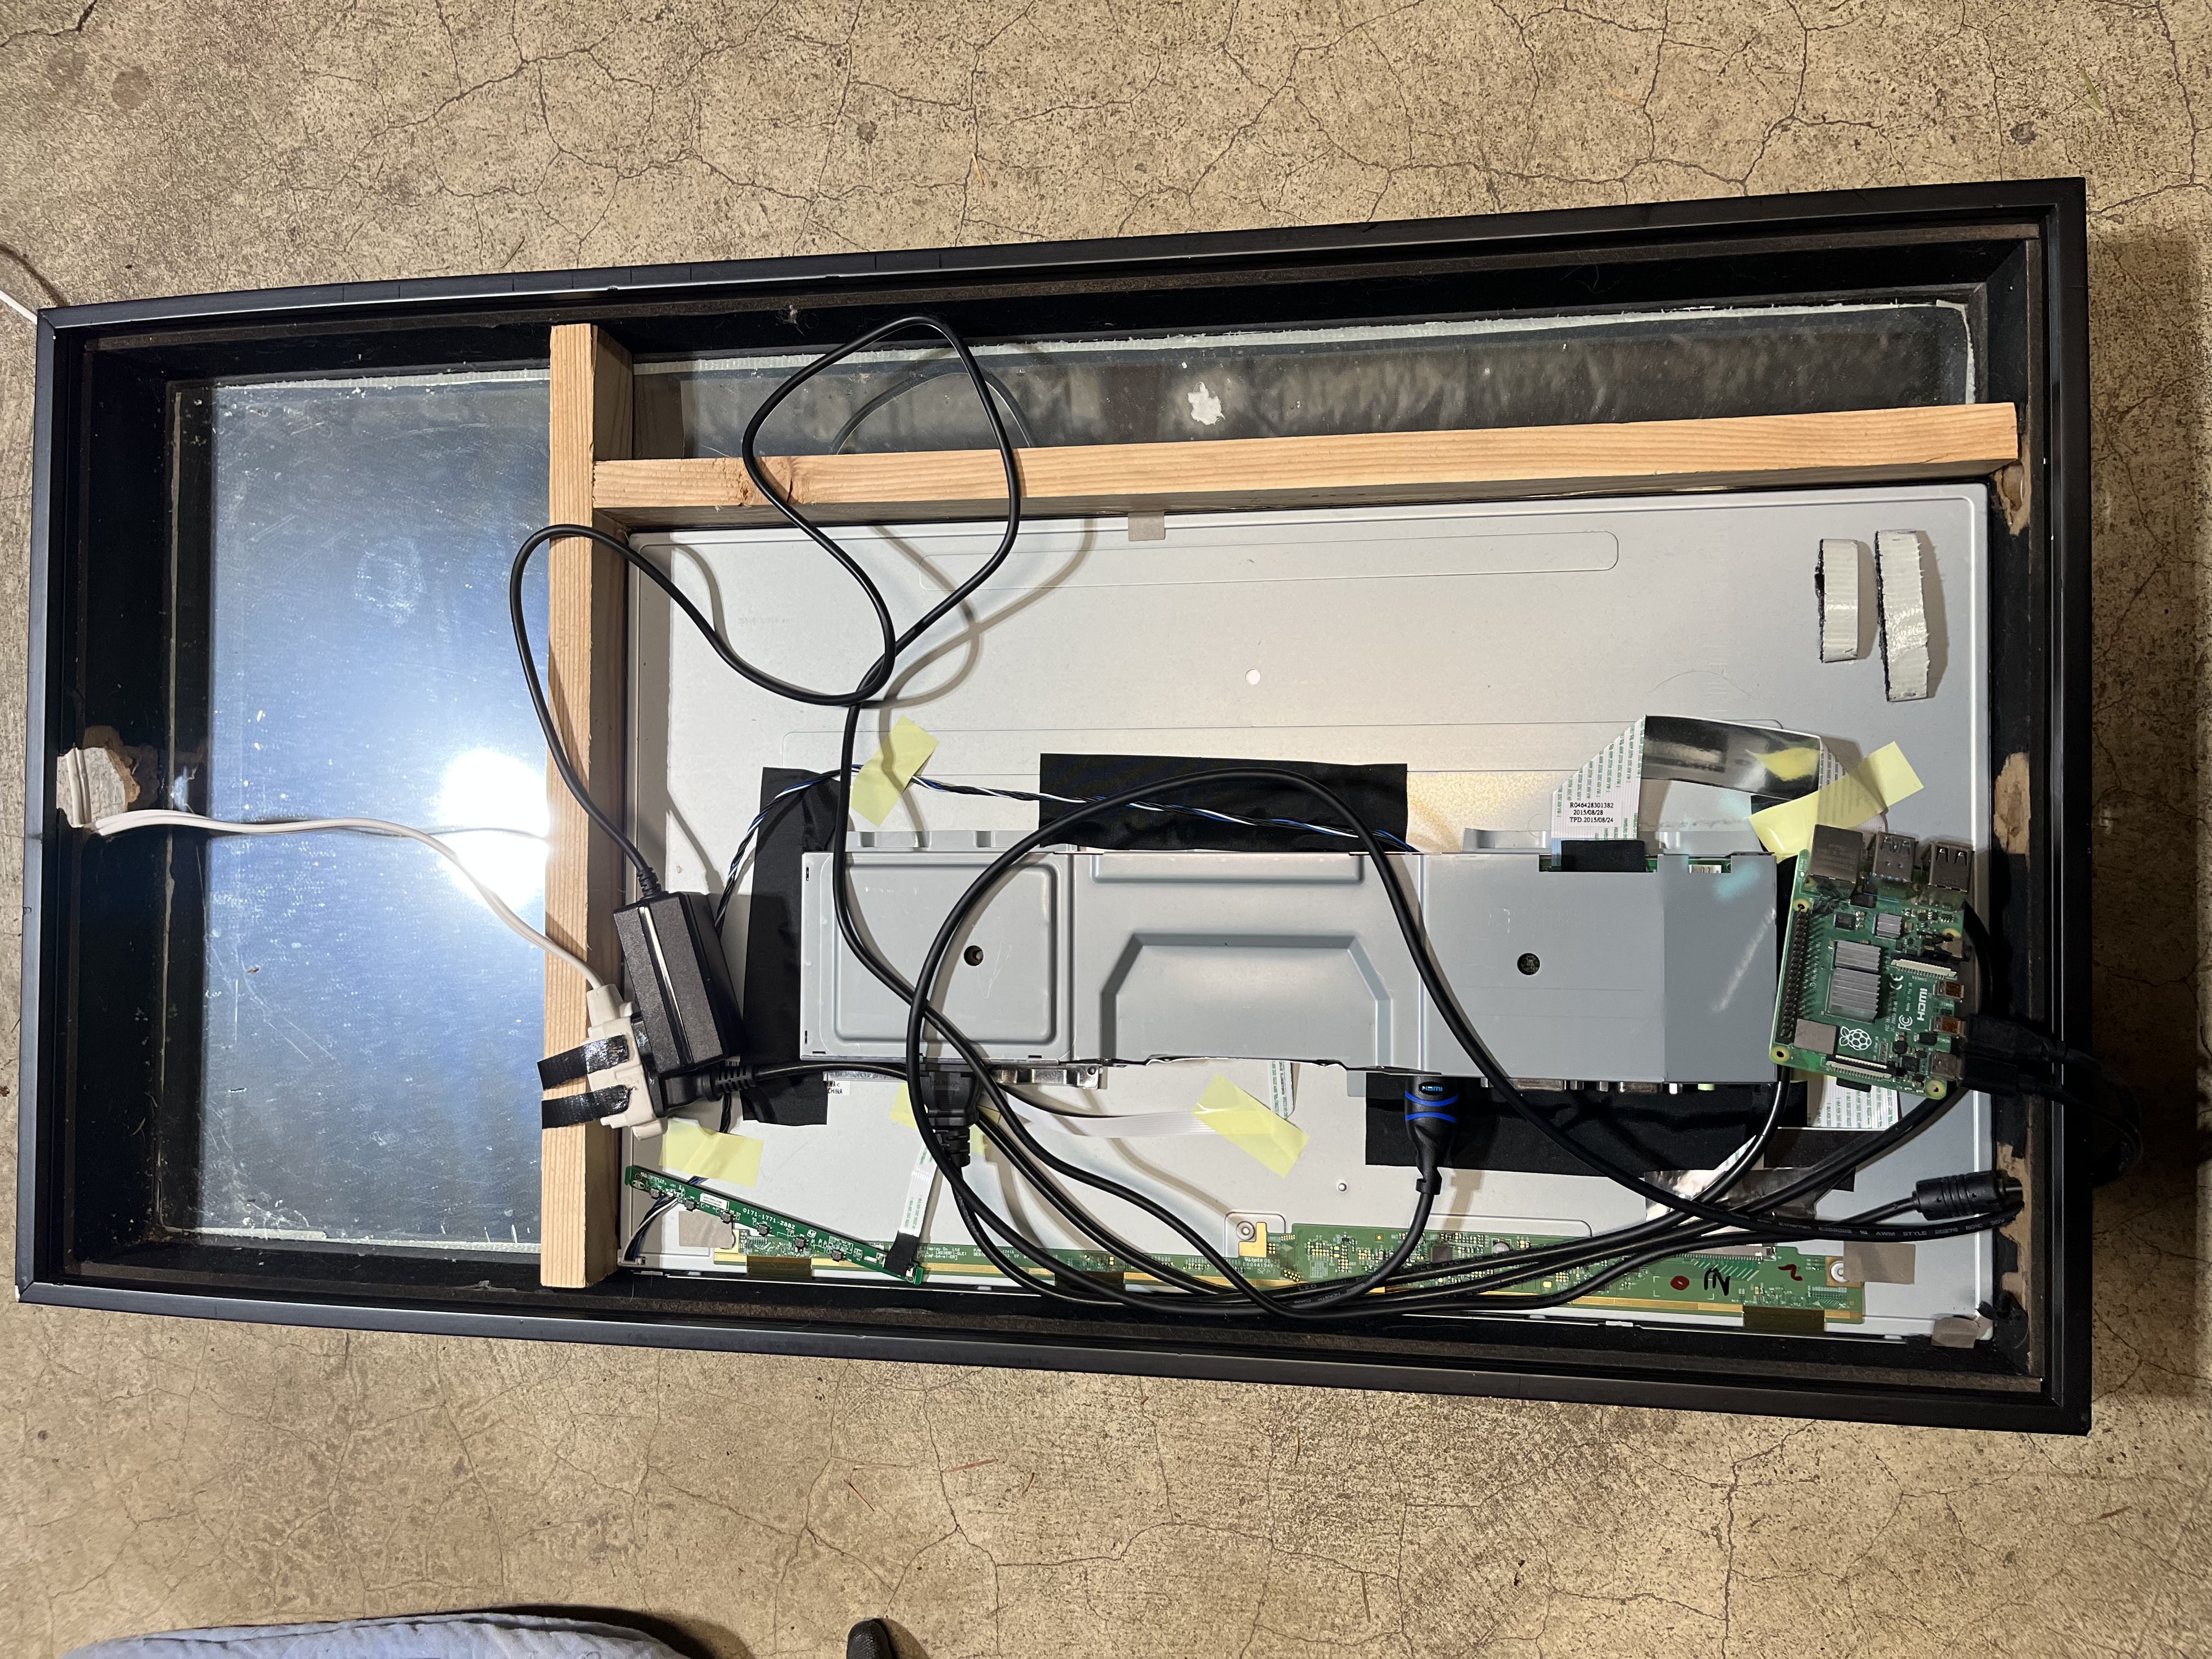
– A large computer monitor. Removed the outer casing in my monitor to save on space and weight.
– Raspberry pi to power the monitor.
– Cables. Need power for the monitor and the Raspberry Pi, as well as an HDMI for the picture output.
Assembly Steps
1. Measure the monitor. Measure the dimension of the monitor and see how deep it is as well to ensure the shadow box selection is correct. It’s best to have space between the back of the monitor and the wall.
2. Cut the wood. The basic frame that goes around the monitor is made up of two pieces of wood inside the shadow box.
3. Assemble the frame. Screw the wood into place to keep it nice and strong.
4. Ventilation. Drill a few holes through the top and bottom parts of the frame to aid in ventilation. It’s best to have some air flow through the mirror. There should also be holes big enough in the shadow box so that the power cables can run through to the monitor and Raspberry Pi.
5. Install the electronics. Put the monitor into the back in-between the area made with the wood. Hook up the Raspberry Pi to the HDMI and run the power cables through the indentation made.
6. Once the mirror is assembled and hun on the wall it’s time to install the software. I was able to build my mirror by customizing the information shown to include the date, calendar, weather, news, and a welcome message. There are installed default modules as well as third-party modules to customize the content even further. I was able to link the monitor with my Amazon Alexa and show information from my device.
Key Takeaways
Programming and building a Raspberry Pi IoT device taught me many skills in product design and UI design.
Understanding how the hardware components fit together and building the box to house the monitor was a great introduction to hardware design.
I was able to program the Raspberry Pi to change the user interface to display desired content.
The mix of product and UI design was an engaging experience to understand how the two domains interact.